If you have seen the Glucology or Frio insulin pouches you will already understand the concept of an evaporative cooling insulin pouch. They work really well but the downside is the price. For a two-pen pouch you are looking at around US$30. In this blog I will show you how to make your own for less than US$5 (if you have a sewing machine) or, if that is too much hassle, you can buy a ready-made one from my Etsy shop for around US$20 including shipping anywhere in the world or AU$25 including shipping within Australia. For every one purchased, I will be supplying an identical one to charities around the world who are supplying insulin in developing countries where refrigeration is unreliable.
How Do They Work?
Evaporative cooling pouches work off of the idea that if water is evaporating from something, that something gets cooler. This is how humans cool themselves i.e. sweating. The key technology in the cooling pouches that allow them to remain cool for well over 24 hours are the little beads inside the pouch. These hydrophilic beads (a big word meaning they hold onto water) are the same ones you might know as Orbeez or those squishy spheres you see flowers in sometimes.

Same technology, different application. While the beads love holding onto water, it still evaporates and, while it does, they and anything they are surrounding feels cool to the touch. Embed them in material and that material, and anything it is surrounding also becomes cool.
DIY Step One: The Materials
Firstly, you will need two cooling scarves. They look like this:
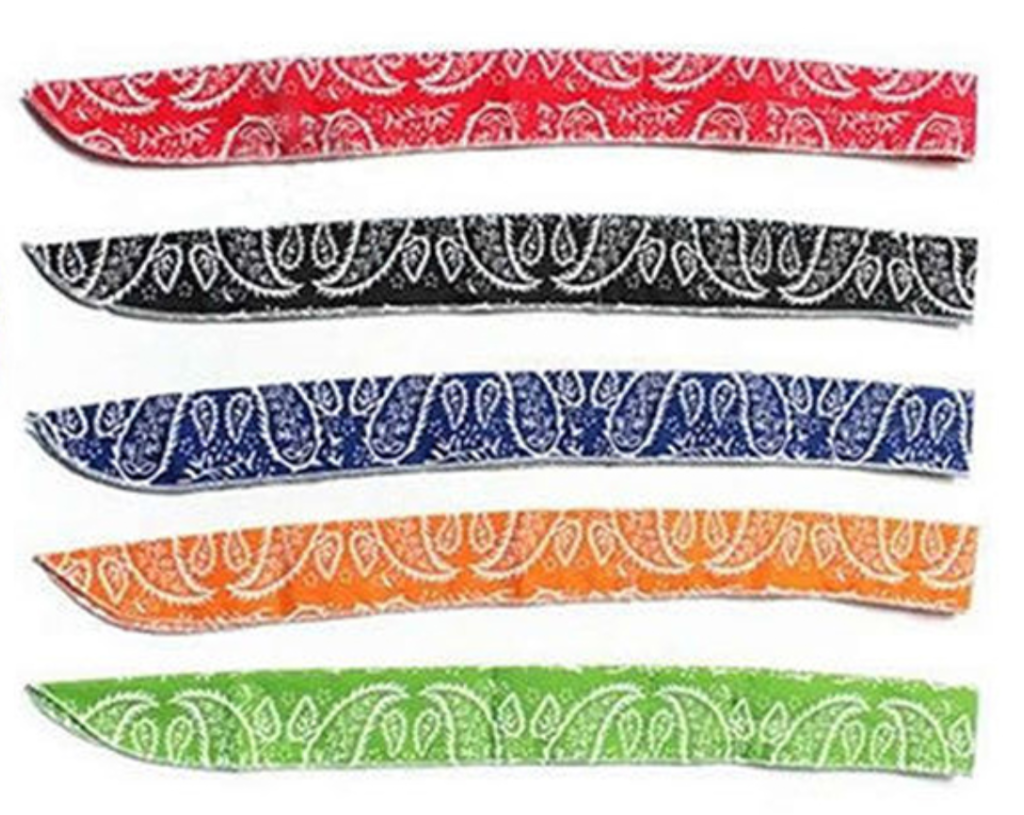
You can buy these from Amazon but this will set you back about US$4 each before postage. Go to Ebay and select the international option and, while it might take a little longer to arrive, you can pick them up for around US$1 each.
You will also need a sewing machine or someone with the time to hand stitch them.
DIY Step Two: Stitching

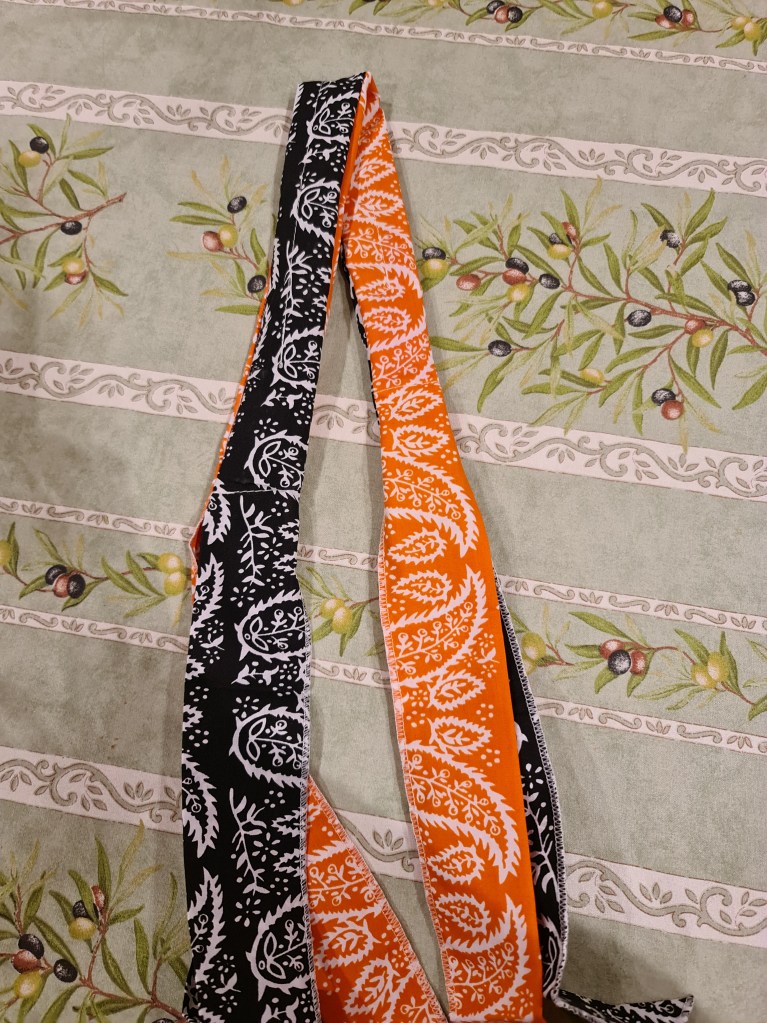
Lay one on top of the other. For symmetry, I have put the seam of one (the white stitching on the edge) to the non-seam side of the other.
Then you will want to do a straight stitch along the edges so the two pieces form a long tube.

The dark line at the bottom on the scarf in the above picture is the straight stitch you need to do on the top and bottom. There is one at the top in the image as well but, because I was using a light brown thread in my bobbin, it is a little tricky to see. While I went a little over in the above picture, you want to go up to the white stitching which runs up and down on the left hand side in the above picture. This gives you the ties on the end of the scarf to secure the pouch, once finished.
DIY Step Three: Inverting
Arguably the fiddly bit, you now push the tube inside of itself to invert it and hide the stitching. I found the best way was to pull it out, rather than trying to push it through with a stick. In the end you will have an inverted tube which looks something like this.
You are now the proud owner of a cooling insulin pouch. Well done!
How To Use Your Pouch
Before use you will need to soak your pouch. I recommend no more than five minutes. Any more than this and the beads will absorb too much water and make it too hard to insert the pens/cartridges/vials. There is probably a risk of splitting the stitches as well.

Once soaked, dry it off with a dishcloth or towel. The material does not have to be wet for it to be effective. It is the beads inside which do the work.
Then, you can insert your hardware.

In the above example, I have my basal and bolus insulin pens and a MedAngel (a Bluetooth thermometer which connects to your phone).
Once inside, you can use the those end ties to keep it all together.

Does It Really Work?
While I am still insulin independent, I always carry insulin whenever I travel overseas for work. Just before the world locked down, I took my pouch to Singapore. Even with Singapore’s humidity, the pouch, within my backpack, was effective at keeping my insulin cool as I walked, in the direct sun, to the office each morning. Tests I have conducted in more controlled conditions show the pouch is as effective as its commercial counterparts.
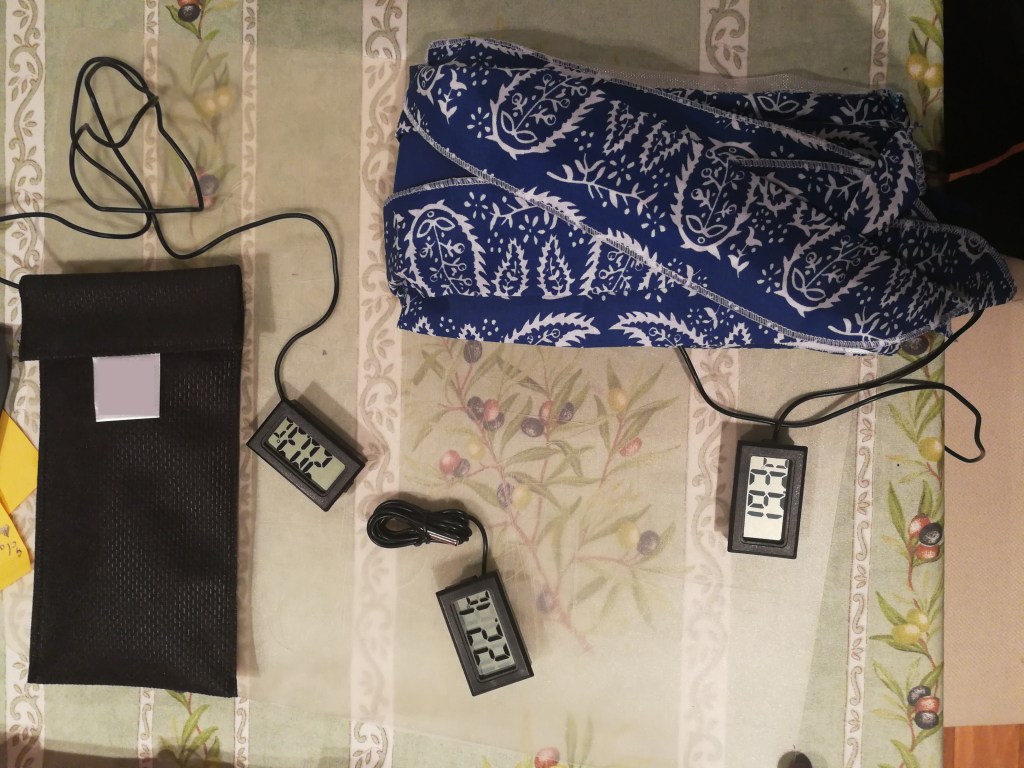
Here you see three temperature gauges measuring (in Celsius) the temperature in my house (the middle one), the temperature of a commercial pouch (on the left) and my one (on the right). Even inside, both pouches shaved off 2-3 degrees Celsius (4-6 degrees Fahrenheit). The effect becomes even stronger in direct sunlight where I have seen temperature differences of 10 degrees Celsius (20 degrees Fahrenheit) between the ambient temperature and the pouch.
“Recharging”, Storage and Care
The pouch will continue to keep the contents cool for over 24 hours. When you want to “recharge” it, immerse it in water for no more than two minutes. Again, if you over-immerse, you risk expanding the beads too much and making it impossible to insert your pens etc. or breaking the stitching.
If you are not planning on using your pouch for a while, let it completely dry out in the sun or on an air vent and, when completely dry, store it in a cool, dry place.
